Sun Salutation for Beginners: Surya Namaskar A Step by Step
Learn sun salutation for beginners with clear, step-by-step cues for every pose in Surya Namaskar A. No flexibility required.
Sun Salutation A is one of the best places to start if you want to build a real yoga practice. It strings together nine poses into a single flowing sequence, links movement to breath, and can be done in under three minutes once you know the pattern. You do not need to be flexible, strong, or experienced. You just need a mat and a willingness to move slowly.
This guide walks you through every step of Surya Namaskar A, with plain-language cues and common beginner mistakes called out along the way. If you have an injury, are pregnant, or are managing a health condition, check with a doctor before starting.
What Sun Salutation A Actually Is
Surya Namaskar means "salute to the sun" in Sanskrit. The A variation is the foundational sequence taught in Ashtanga yoga and used in almost every vinyasa class. It has nine distinct positions, but you move through them as one continuous wave rather than holding each pose separately.
The breath drives everything. Each movement has an inhale or an exhale attached to it. That connection between breath and motion is what makes a sun salutation feel different from just stretching. If you want to understand why this matters, learning how to link breath to movement in yoga is a good next read.
The Nine Steps, One at a Time
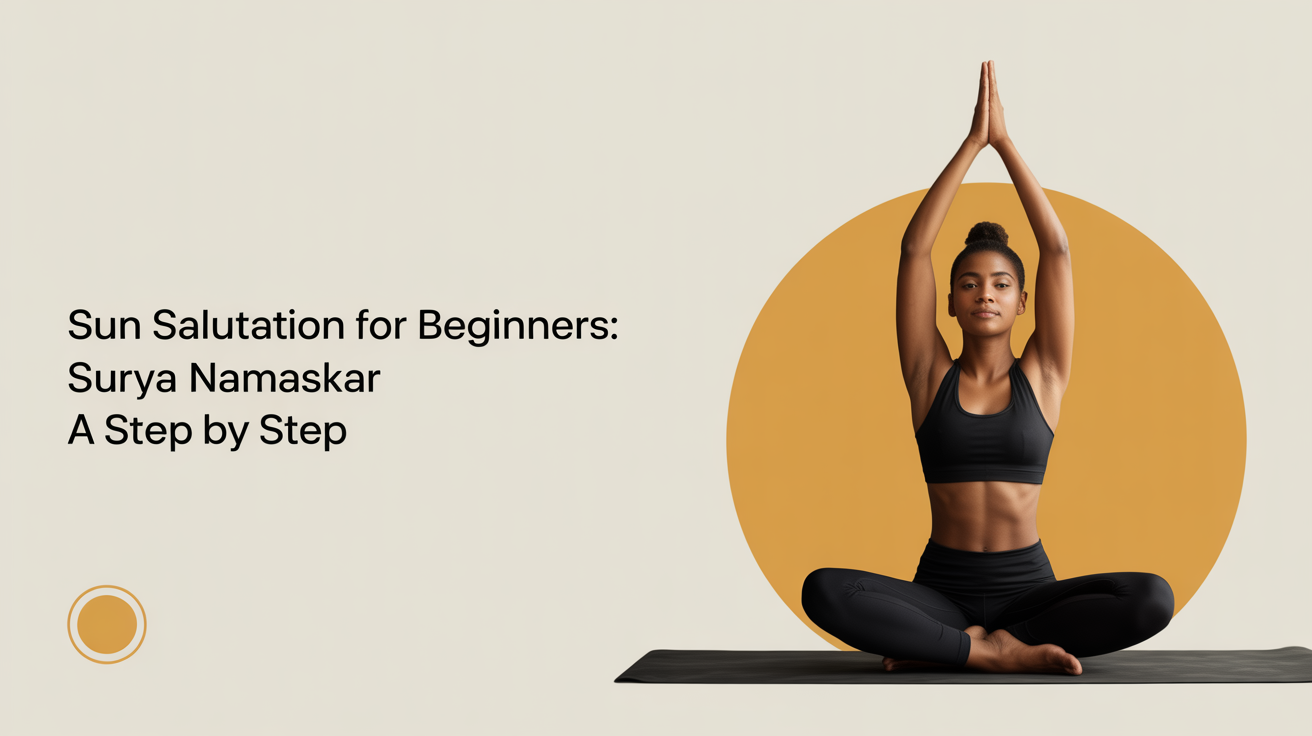
1. Samasthiti (Mountain Pose)
Stand at the top of your mat with your feet together or hip-width apart, whichever feels stable. Arms hang at your sides, palms facing forward. Take a full breath here. This is your starting point at the beginning and your resting point at the end.
Common mistake: locking the knees back. Keep a soft bend instead.
2. Urdhva Hastasana (Upward Salute), Inhale
On an inhale, sweep your arms out to the sides and overhead. Press your palms together or keep them shoulder-width apart if your shoulders are tight. Look up gently, or keep your gaze level if your neck is stiff.
3. Uttanasana (Standing Forward Fold), Exhale
Exhale and fold forward from your hips, not your waist. Let your hands drop toward the floor. Your knees can bend as much as you need, especially at first. The goal is length in your spine, not straight legs. Let your head hang.
4. Ardha Uttanasana (Halfway Lift), Inhale
Inhale and lift your chest halfway up, coming to a flat back. Place your fingertips on your shins or the floor, whichever lets you actually flatten your spine. This position is often rushed. Take a full breath here.
5. Chaturanga Dandasana (Low Plank), Exhale
Step or hop your feet back to a plank position, then exhale and lower down with control. Elbows track back along your ribs (not out to the sides), and you lower until your upper arms are parallel to the floor. This is a genuinely hard pose. Until you build the strength for it, drop your knees to the mat first and lower with control from there. That modification is not a shortcut; it is how you build the strength safely.
Common mistake: letting your hips sag or pike up. Keep your body in one long line as you lower.
6. Urdhva Mukha Svanasana (Upward-Facing Dog), Inhale
From low plank, inhale and press the tops of your feet into the mat while you straighten your arms and lift your chest. Your thighs come off the mat. Shoulders roll back and down, away from your ears. If this is too much on your lower back, stay in Cobra (bent arms, belly on the mat) instead. Both are valid.
7. Adho Mukha Svanasana (Downward-Facing Dog), Exhale
Exhale and press back to Downward Dog. Hips lift, heels reach toward (not necessarily touching) the floor, and hands press firmly into the mat. Let your head hang between your arms. Hold here for five full breaths before moving on.
Downward Dog is often called a resting pose, which sounds like a joke when you first try it. Bent knees are completely fine. Focus on lengthening your spine rather than forcing your heels down.
8. Forward Fold to Halfway Lift, Inhale/Exhale
On an inhale, step or hop your feet to the top of the mat and lift to a halfway position. Then exhale and fold forward completely. This mirrors steps 3 and 4 in reverse.
9. Upward Salute to Mountain Pose, Inhale/Exhale
Inhale and sweep your arms overhead, rising to standing. Exhale and bring your hands to your heart or to your sides, returning to Samasthiti.
That is one round. Most classes do three to five rounds to warm up.
A Quick Reference Table
| Step | Pose | Breath |
|---|---|---|
| 1 | Mountain Pose | Neutral |
| 2 | Upward Salute | Inhale |
| 3 | Standing Forward Fold | Exhale |
| 4 | Halfway Lift | Inhale |
| 5 | Chaturanga (or Knees Down) | Exhale |
| 6 | Upward-Facing Dog (or Cobra) | Inhale |
| 7 | Downward-Facing Dog (5 breaths) | Exhale, hold |
| 8 | Halfway Lift → Forward Fold | Inhale, Exhale |
| 9 | Upward Salute → Mountain Pose | Inhale, Exhale |
Beginner Modifications Worth Knowing
You do not have to do the "full" version on day one. These modifications let you practice safely while you build strength and familiarity:
- Chaturanga: Drop your knees before lowering. This reduces the load on your shoulders and wrists significantly.
- Upward Dog: Use Cobra instead. Keep your belly on the mat and just press your chest up with bent arms.
- Forward Fold: Bend your knees generously. Tight hamstrings are extremely common and have nothing to do with how good a yoga practitioner you are.
- Downward Dog: Pedal your heels one at a time to loosen your calves, and keep your knees bent as long as you need.
- Jump-backs and jump-throughs: Walk instead. Hopping is a more advanced skill. Walking your feet back and forward gives you the same sequence with far less risk.
If any position causes sharp pain or pinching, come out of it and rest in Child's Pose. Mild muscle fatigue is normal; pain is not.
How to Practice Sun Salutation A on Your Own
Three to five rounds is a solid beginner session on its own. Here is a simple weekly structure to build the habit:
| Day | Practice |
|---|---|
| Monday | 3 slow rounds, focus on breath timing |
| Wednesday | 4 rounds, pause in Downward Dog for 5 full breaths |
| Friday | 5 rounds, explore removing knee modification in Chaturanga |
| Weekend | Rest or a gentle 10-minute morning flow |
Go slowly at first, even if it feels almost too slow. Rushing through the steps burns out your breath timing, and the sequence loses most of its benefit. A single round done carefully at a pace where you can breathe is worth more than five rounds done in a scramble.
Once Surya Namaskar A feels natural, Surya Namaskar B adds Warrior I and a few extra steps that deepen the whole practice.
FAQ
How many rounds of Sun Salutation A should a beginner do?
Start with two or three rounds and see how your body responds. Three rounds at a careful pace takes about five minutes. Add one round per week as the sequence becomes familiar. There is no minimum that makes it "count."
My wrists hurt in plank and Downward Dog. What can I do?
This is very common, especially early on. Try spreading your fingers wide and pressing down through your knuckles as well as your palm. You can also fold the front edge of your mat for extra cushioning, or use yoga blocks under your palms to reduce the angle at your wrist. If wrist pain persists beyond a session or two, see a physical therapist before continuing.
Do I have to do it in the morning?
No. The morning association comes from the traditional use of the sequence as a dawn ritual, but it works just as well in the afternoon or evening. Some people find that doing it right after waking up, before coffee or breakfast, becomes a consistent habit. Others prefer it as an afternoon reset. Pick the time you will actually use.
Can I do Sun Salutation A every day?
Yes, with some caveats. The sequence is low-impact enough to repeat daily for most people. Pay attention to how your shoulders and wrists feel over time. If you notice cumulative soreness building, add a rest day or switch to a gentler flow on alternating days.
How long until it starts to feel fluid?
Most people find the sequence feels mechanical and choppy for the first week or two. By the third or fourth week of regular practice, the transitions start to smooth out and the breath timing clicks into place. That shift happens gradually; you usually notice it in retrospect rather than as a sudden moment.